Recording what your are playing
You can record the audio or video of any content you are playing with VLC, by using the Record button.
The Record button
To use the Record button:
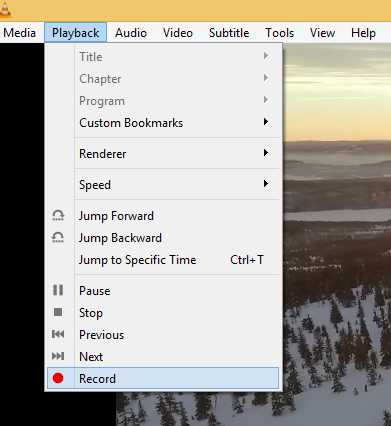
In the Playback menu, click on the Record
 button to start the recording,
Click again on the Record
button to stop the recording,you can also stop the recording by clicking the Stop button.
The recording is stored on the default storage folder for videos or music on your computer under a name like vlc-record-Date-Time-Channel-Track.extension.
Example: vlc-record-2011-09-22-10h19m48s-Radio CAFF-Silencio - Arrabal Salvaje.mp3.
You can automatically cut the stream into tracks by relaying the stream through Streamripper, i.e. by directing StreamRipper to the ShoutCast stream and directing VLC to the relaying port of StreamRipper (default http://localhost:8000).
Make the Record button visible
The record button is not easily accessible by default, but you can make permanently visible. To do that, use one of these methods below:
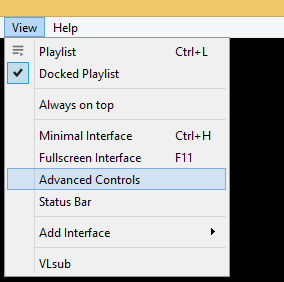
Click on to display the advanced toolbar directly above Playback Controls. This advanced toolbar contains the Record button. Once the Record button is visible, click it to start recording.
Select menu and drag the record button to to any location of your choice in Line 2. Once the Record button is visible, click it to sart recording.
Note
Line 2 is the default line shown on VLC.
Choose your recordings folder
You can modify the folder used to store your recordings. To do that:
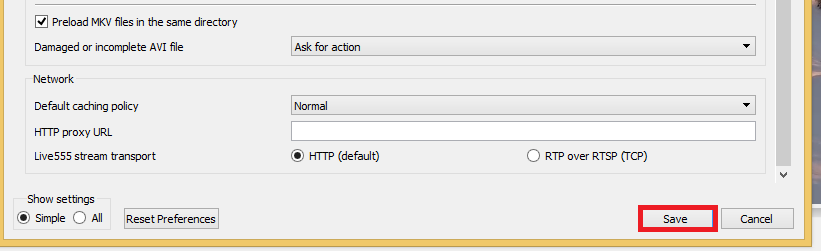
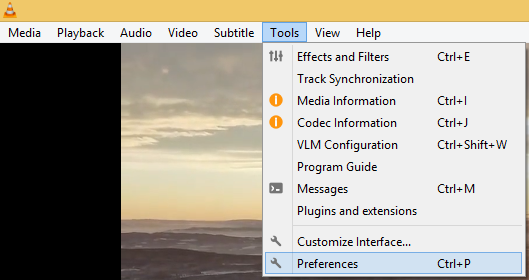
Select or press Ctrl+P.
Click Input/Codecs, under Files click Browse… to select a location for your recordings.
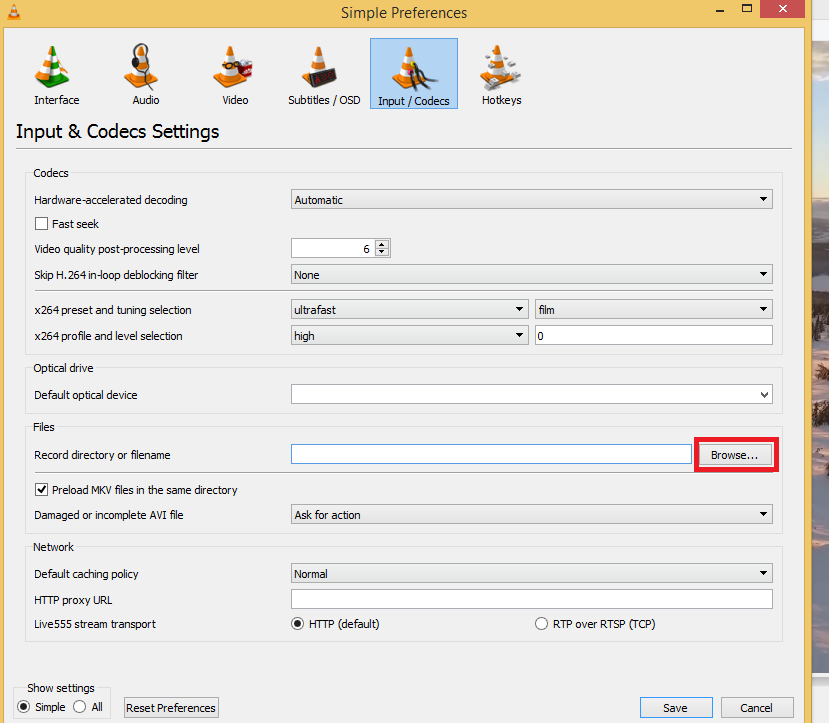

Click on Save.